Integrating TargetPilot with your WooCommerce store is a straightforward process that enables you to provide enhanced customer support and streamline your online store operations. Follow these simple steps to install and set up the TargetPilot plugin.
Step 1: Search for the TargetPilot Plugin
-
Log in to your WooCommerce admin dashboard.
-
Navigate to the Plugins section and click on Add New.
-
In the search bar, type TargetPilot (identical word).

Step 2: Install the TargetPilot Plugin
-
Locate the TargetPilot plugin with its recognizable icon in the search results.
-
Click on the Install Now button next to the plugin.

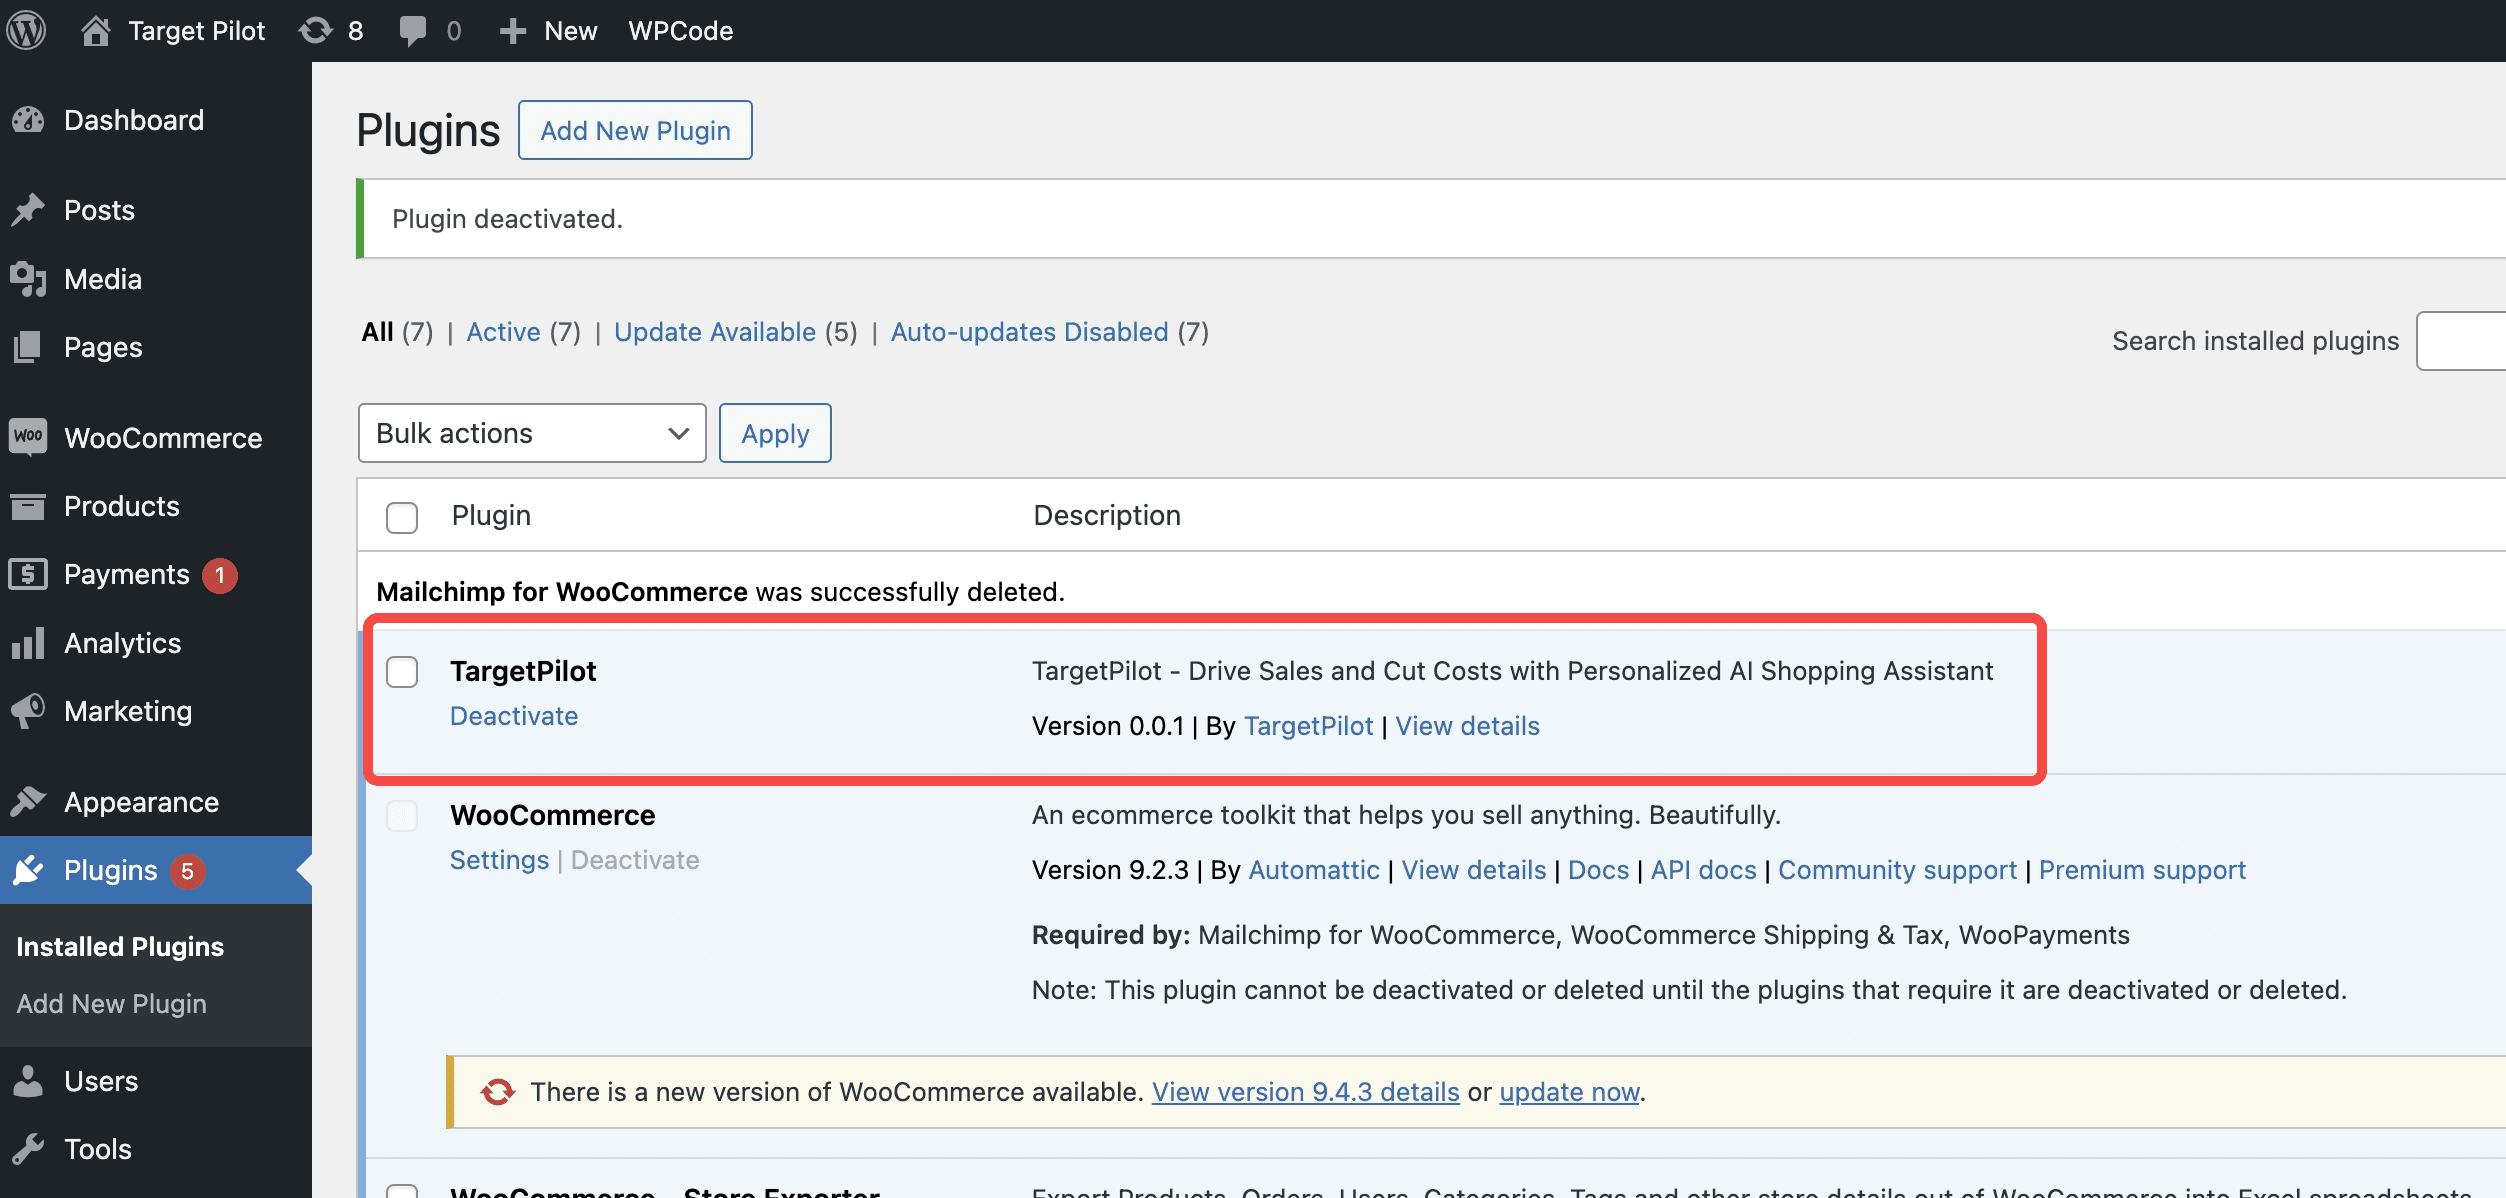
Step 3: Load the TargetPilot Dashboard
-
Once the plugin is installed, click on TargetPilot in your WooCommerce dashboard menu.
-
Wait for the TargetPilot setup page to load completely.
Step 4: Authorization
- Authorize TargetPilot


Step 5: Configure Customization Settings
-
On the TargetPilot setup page, configure the Customization settings to align with your brand's appearance and functionality.
-
Adjust colors, themes, and bot responses to match your store's style.

Step 6: Set Up the Security Word
-
In the Compliance&Safety section, define a Sensitive Keyword Filter to enhance the security of your TargetPilot integration.
-
This ensures secure communication between TargetPilot and your WooCommerce store.

Step 7: Configure Assistant Installation
-
Navigate to the Assistant Installation section within TargetPilot.
-
Select Display on Your Website to enable the chatbot on your WooCommerce store's pages.

Step 8: Save and Start Using the Bot
-
After activating the plugin, click Save to finalize your settings.
-
Your TargetPilot chatbot is now live and ready to assist your customers.
With these simple steps, you can successfully integrate and activate TargetPilot on your WooCommerce store. Your AI assistant is now ready to enhance customer experiences and streamline your store's operations!